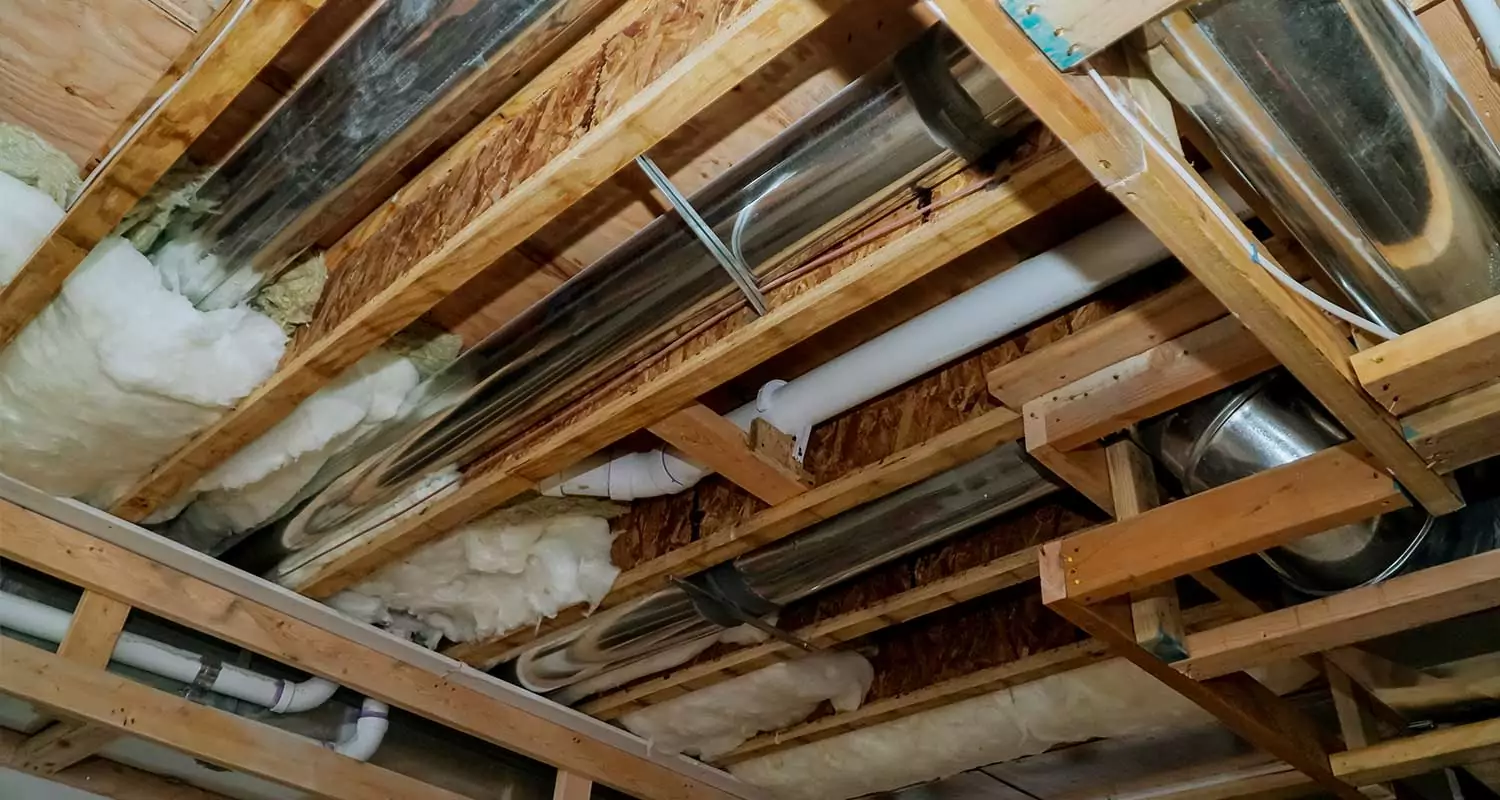
Every home relies on an efficient plumbing system to manage the inflow of fresh water and the disposal of wastewater. When designing your house, careful consideration of the pipe and drain placement is crucial, a process known as a plumbing rough in.
While it’s beneficial to engage a professional plumber for this task, having a basic understanding yourself can be valuable. Let’s delve into the key aspects of a plumbing rough-in.
What Does a Plumbing Rough-In Entail?
The plumbing rough-in process is a foundational step in new construction, involving the installation of main lines before finalizing walls and fixtures. It varies between residential and commercial properties, with residential rough-ins typically being less complex due to lower occupancy and simpler water pressure requirements.
The strategic placement of pipes is vital for the seamless functionality of your home. This involves careful planning to ensure pipes are correctly positioned behind walls, beneath floors, and within cabinets. A standard plumbing rough-in utilizes three primary types of pipes: water supply lines, drainage pipes, and vents, each serving a specific purpose in the overall plumbing system.
Key Components of a Plumbing Rough-In
- Water Supply Lines: These are essential for bringing fresh water into your home and must be connected to the water main. To ensure control and convenience, your plumber will install individual shut-off valves for each water supply line. This design allows you to isolate water to specific areas of your home without disrupting the entire system.
- Drainage Lines: Responsible for removing wastewater from your home, these lines are linked to your sewer main. An important feature your plumber will add is a clean-out fitting on the main drainage line. This fitting, typically a removable plug, provides easy access for cleaning and unclogging the line as needed.
- Vent Lines: These lines are crucial for maintaining air flow in your plumbing system. They are connected to the vent stack, a vertical pipe that extends from the sewer main up to the roof. The vent stack plays a dual role – it expels sewer gases and also allows air into the drainage lines, preventing vacuum formation that could hinder water flow.
The most crucial aspect of a plumbing rough-in is ensuring proper installation. It’s a complex process that goes beyond typical DIY capabilities. For this reason, it’s strongly recommended to engage a professional plumber who can guarantee that the entire system is set up correctly and efficiently, ensuring long-term functionality and reliability.
The Significance of the Plumbing Rough-In Process
Understanding the importance of the plumbing rough-in in construction is crucial, as it lays the groundwork for a successful plumbing system. Plumbing is intricate and requires meticulous planning; any missteps in installation can lead to leaks, clogs, and costly repairs. Hence, getting it right the first time is not only cost-effective but also essential for your peace of mind.
Step-by-Step Guide to Rough-In Plumbing
- Locate the Water Main: Identify where the water main is in your home, as this is where fresh water enters your home.
- Find the Sewer Main: Determine the location of your home’s sewer main, responsible for channeling wastewater out.
- Identify the Vent Stack Location: Locate your home’s vent stack, which is vital for air circulation within the plumbing system.
- Design and Installation Planning: With these key locations in mind, plan the layout and installation of the pipes.
- Install the Water Supply Pipe: Connect this pipe to the water main, ensuring a seamless supply of fresh water.
- Install the Drainage Pipe: Link this pipe to your home’s sewer main for effective wastewater removal.
- Install the Vent Pipe: Attach this pipe to the vent stack to facilitate air flow in the plumbing system.
- Finalize Construction: Once the pipes are installed, proceed with the remaining construction work.
This overview outlines the basic steps involved in a plumbing rough-in. However, due to the complexity of plumbing systems, engaging a professional plumber for this phase of construction is strongly advised to ensure accuracy and efficiency, avoiding future issues with your home’s plumbing.
Duration of a Plumbing Rough-In
Completing a plumbing rough-in is a detailed and time-consuming process, necessitating the expertise of a professional plumber. On average, a typical rough-in might take anywhere from three to five days, though this can vary based on the size of the home and the complexity of the project.

Advantages of Proper Rough-Ins
The benefits of conducting a thorough plumbing rough-in are numerous. Primarily, it ensures the effective operation of your home’s plumbing system, which can save significant costs in the long run by avoiding expensive repairs.
Additionally, a well-executed rough-in can expedite the overall construction process of your home. While it may seem time-consuming, it’s actually more efficient than trying to install plumbing after the walls have been erected.
Moreover, a properly done plumbing rough-in can enhance the value of your home. For potential buyers, the assurance that the plumbing system is properly installed and functional can be a significant selling point, eliminating concerns about future costly repairs.
Understanding the importance and benefits of a plumbing rough-in underlines the need to engage a professional plumber. Their expertise is crucial in ensuring that this critical stage of construction is carried out accurately and efficiently.


